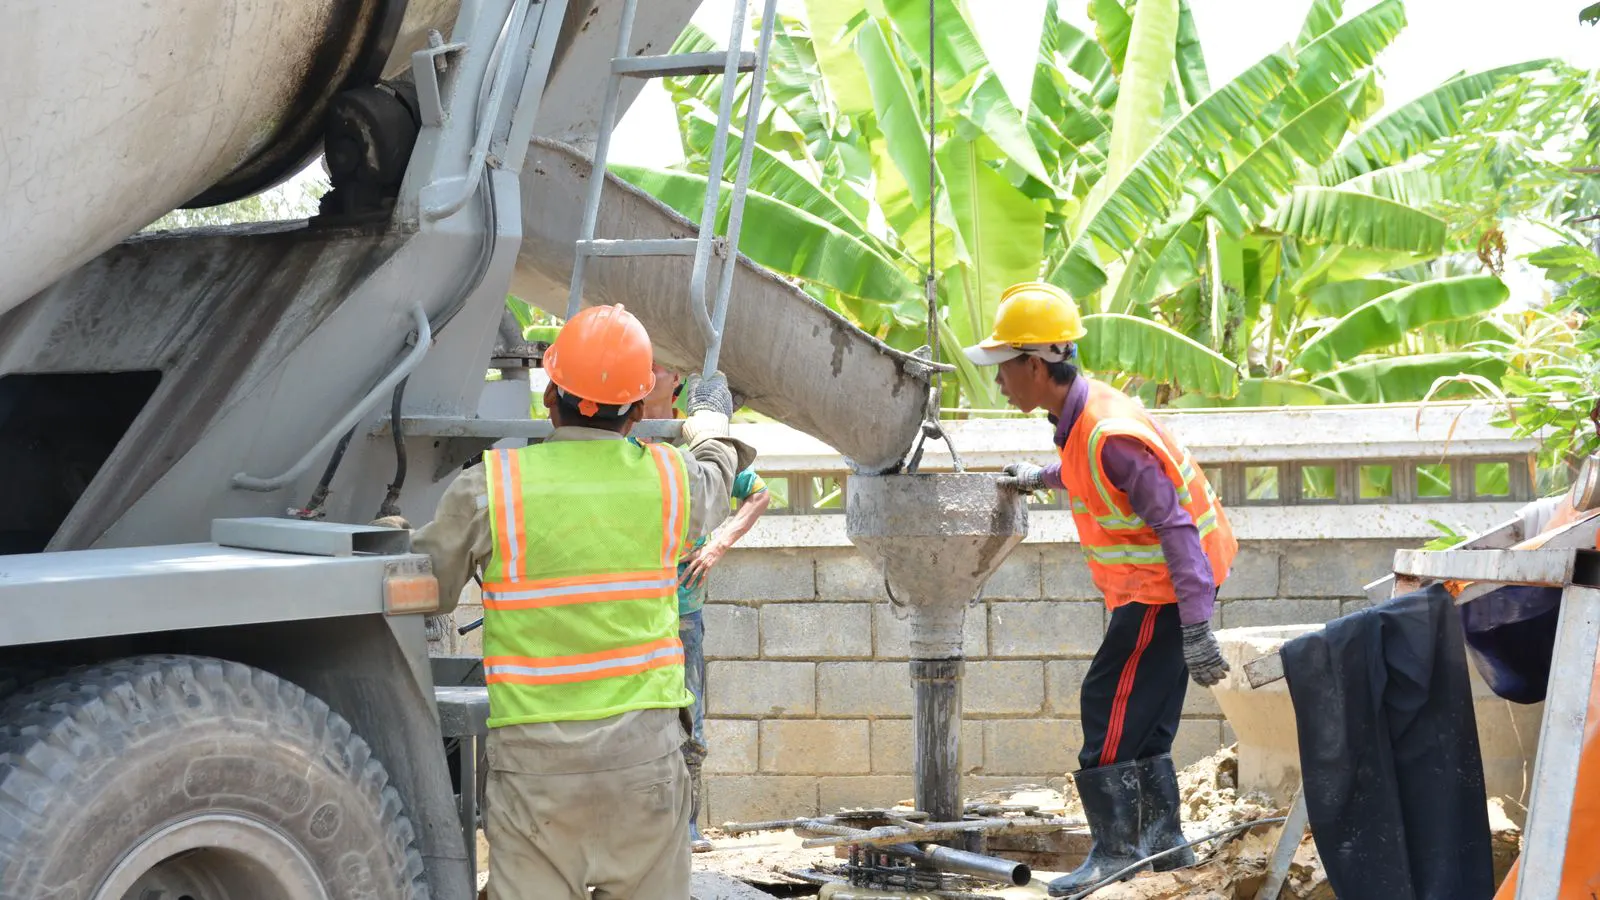
Installing Rail Gantry Tracks in Container Yards

This guide covers the step-by-step process for installing rail gantry crane tracks in container yard environments. It details site preparation, leveling, and alignment checks to ensure the crane runs smoothly and maintains structural integrity over time.
- Accurate surveying and leveling are the foundation of any rail gantry crane installation.
- Track alignment must be checked against the crane's design tolerances to prevent derailment.
- Grout curing time and load testing must be completed before the crane is placed on the rails.
- Regular inspection of rail joints and fastening hardware prevents premature wear and operational failure.
Why Rail Gantry Crane Tracks Matter
A rail gantry crane relies on the running rails to support the entire weight of the structure and the loads it moves. In a container yard, these rails must carry heavy point loads while resisting the dynamic forces of acceleration and braking. If the tracks are uneven or out of alignment, the crane wheels will rub, the rails will deform, and the overhead structure will vibrate.
The goal of track installation is not just to place steel on concrete. It is to create a stable, level, and straight reference plane that the crane can travel across without stress. Poor installation is one of the most common causes of early failure in rail-mounted crane systems.
Prerequisites Before Digging
Before any earthworks begin, the site team must have the crane manufacturer’s installation manual and the civil engineering drawings in hand. These documents define the track width, the concrete pad dimensions, and the allowable deviation in elevation and plumb.
You need a surveyor with experience in heavy industrial projects. The yard floor, if already poured, must be checked for flatness. If the floor is new, the concrete slab must be cured and tested for hardness. The area must be clear of overhead obstructions that could interfere with the crane’s travel or the installation of the overhead structure.
Step-by-Step Track Installation Process
The following steps outline the standard procedure for installing running rails in a container yard. Each step has a specific reason for its existence. Skipping one creates a problem that is much harder to fix later.
-
Lay out the centerline and width. Use a total station or laser level to mark the exact position of the rails on the prepared concrete or ground. The width must match the crane’s wheelbase and the manufacturer’s specification. An error here means the crane will not sit correctly on the rails, causing uneven loading on the wheels and the rail profile.
-
Prepare the bearing pads. If the rails are set into concrete, excavation of the trench must be precise. The trench depth and width should match the rail flange and head dimensions. If the rails are bolted to a steel base, the base must be machined or fabricated to the exact height. The reason for this precision is to ensure the rail head sits at the correct elevation relative to the crane’s wheel center.
-
Set the temporary supports. Place the rails on temporary wooden or steel supports to hold them in place during concrete pouring or grouting. These supports must be rigid enough to prevent movement under the weight of the wet concrete. Without them, the rails can shift, leading to misalignment that is difficult to correct after the concrete sets.
-
Pour or grout the base. For embedded installation, concrete is poured around the rails. For bolted installation, a high-strength grout is used to fill the void between the base and the concrete pad. The grout must be dense and free of voids. Air pockets in the grout will compress over time, causing the rail to settle unevenly.
-
Check elevation and plumb. While the concrete or grout is still plastic, use a level or theodolite to check the rail’s elevation along its length and its vertical plumb. The rails must be level to prevent the crane from rolling to one side. They must be plumb to ensure the crane does not lean. This step is critical because it is the last chance to correct alignment before the base hardens.
-
Cure the concrete or grout. Allow the material to cure for the full period specified by the manufacturer and the local climate. Rushing this step compromises the strength of the base. The rails must be supported by a fully hardened mass to carry the dynamic loads of the crane.
-
Fit the rails and check alignment. Once the base is hard, remove the temporary supports and fit the final rails if they were not set in place. Check the alignment of the two parallel tracks. They must remain parallel over the entire length. Use a string line or a laser level to check for convergence or divergence. Even a small deviation can cause the crane wheels to bind and wear.
-
Install the joints and fasteners. If the rails are segmented, install the joints. Use proper rail joint hardware, such as fishplates or welded joints, depending on the design. Tighten all fasteners to the manufacturer’s torque specifications. Loose fasteners allow the rail to move under load, leading to vibration and premature damage.
-
Test the system. Before placing the full crane, run a test load or a partial load on the rails. Check for deflection, movement, and noise. This verifies that the tracks can handle the anticipated loads and that the installation is structurally sound.
Common Mistakes in Track Installation
Several errors are frequently seen on site. The most common is ignoring the importance of the concrete pad. If the pad is not level or strong enough, the rails will settle over time. This settling changes the alignment and causes the crane to run poorly.
Another mistake is rushing the grout or concrete curing process. Crews often want to move on to the next phase of installation. However, placing the crane on a base that is not fully cured can cause the rails to shift or crack.
A third error is neglecting the drainage. In a container yard, water can pool around the base of the rails. If water erodes the concrete or grout, the support is weakened. Proper grading and drainage channels are necessary to keep the base dry and stable.
Common Mistakes in Track Installation
| Mistake | Consequence |
|---|---|
| Uneven concrete pad | Rail settlement and misalignment over time |
| Rushed grout curing | Rail movement and structural weakness |
| Poor drainage | Concrete erosion and loss of support |
| Incorrect rail spacing | Crane wheel binding and uneven loading |
| Loose fasteners | Vibration and premature rail wear |
Final Verification and Handover
After the tracks are installed, a final verification is required. This involves a detailed inspection of the rails, the joints, and the fasteners. The surveyor should re-check the alignment and elevation to ensure they meet the tolerance specifications.
The crane manufacturer’s representative should be present for this check. They will verify that the track system meets the requirements for the crane’s operation. A sign-off document should be produced, stating that the tracks are ready for the crane to be placed.
This document becomes part of the crane’s maintenance records. It provides a baseline for future inspections and helps in diagnosing any issues that may arise later.
Operational Considerations
Once the crane is on the rails, the operator must be trained on the specific characteristics of the track system. For example, if the rails have joints, the operator should be aware of the potential for increased noise and vibration at those points.
Regular inspections are part of the operational cycle. The track system should be checked for wear, damage, and loose fasteners at defined intervals. Any issues found during inspection should be addressed promptly to prevent them from becoming safety hazards.
Maintenance and Long-Term Care
The longevity of the rail gantry crane depends heavily on the condition of the tracks. Regular cleaning of the rails is necessary to remove dirt, debris, and salt, which can cause corrosion. Lubrication of the joints and fasteners may be required to prevent seizure.
If the rails show signs of wear, such as head flattening or flange damage, they should be replaced or profiled. The replacement process should follow the same principles as the original installation to ensure consistency.
By following these steps and maintaining the tracks properly, the rail gantry crane will operate smoothly and efficiently for many years. The quality of the installation is the foundation of a reliable and safe crane system.
Frequently asked questions
How long does it take to install rail gantry crane tracks?
The installation time depends on the length of the rails, the method of installation, and site conditions. It typically involves surveying, concrete work, curing, and alignment checks.
What is the most critical part of the track installation?
The alignment and elevation of the rails are the most critical parts. These must meet the manufacturer's specifications to ensure the crane runs smoothly and safely.
Can the tracks be installed on existing concrete floors?
Yes, but the existing floor must be checked for levelness and strength. If the floor does not meet the requirements, a new pad or leveling layer may be needed.
What happens if the tracks are not level?
If the tracks are not level, the crane will roll to one side, causing uneven loading on the wheels and the structure. This can lead to premature wear and operational issues.
How often should the tracks be inspected?
The tracks should be inspected regularly, typically at least once a month, or more frequently if the crane is used heavily. The inspection schedule should be defined in the maintenance plan.